Transforming an ambitious concept into a mass-produced, reliable component requires more than just an assembly line; it requires a structured New Product Introduction (NPI) process. As a trusted , Xingyue Technology acts as an extension of your R&D team. This guide breaks down our transparent, four-phase OEM and ODM process, showing you exactly how we bring your unique ideas to life without delays or quality risks.

Defining the Partnership: OEM Touch Screen vs. ODM Display Solution
Before a project kicks off, it is essential to align on the collaboration model that best suits your company’s internal capabilities.
The OEM Approach: Manufacturing Your Exact Specifications
If you have a robust in-house engineering team that has already finalized the mechanical drawings, component BOM, and firmware parameters, you need an partner. In this model, you own the complete design. We act as your precision manufacturing powerhouse, bringing your exact blueprints into reality with high yield rates and strict quality control.
The ODM Approach: Co-Developing a Solution from Scratch
If you have a brilliant product concept and basic performance requirements but lack the dedicated display engineering resources to finalize the stack-up, our ODM display solution is ideal. We take your functional requirements and handle the full engineering design—from IC selection to FPC routing—delivering a market-ready solution under your brand.
Choosing the Right Model for Your R&D Resources
Whether you bring the blueprints or we design them together, our NPI process ensures the transition from idea to inventory is seamless and fully documented.
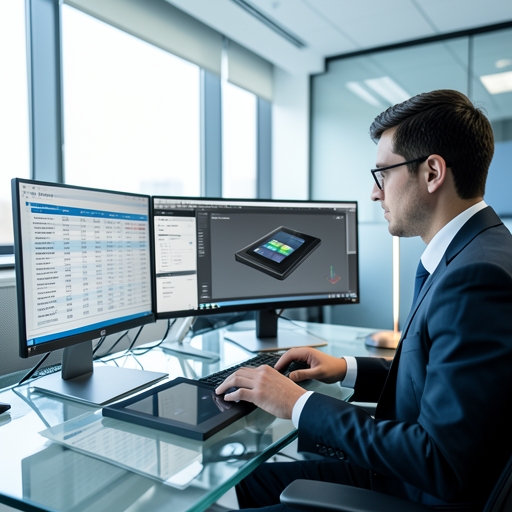
Phase 1: Requirements Gathering and Feasibility Analysis
The foundation of a successful custom display project is laid before a single line is drawn in CAD. Phase 1 is all about alignment and risk mitigation.
Translating Product Concepts into Technical Specs
We begin with a deep-dive consultation. Our engineers work with your product managers to translate broad goals (e.g., "needs to work outdoors with gloves") into strict technical specifications (e.g., 1000-nits brightness, AG coating, 3mm cover glass, ILITEK touch controller).
Assessing Environmental and Mechanical Constraints
We analyze the physical environment your product will face. Does it need an IP65 waterproof rating? Will it endure high vibrations? This feasibility analysis ensures that the proposed Custom Touch Screen Modules are mechanically and environmentally viable.
Establishing the NPI Process Timeline and Milestones
Once specifications are locked, we provide a transparent NPI schedule. This outlines key milestones for tooling, prototyping, design verification, and pilot runs, ensuring your time-to-market goals are met.
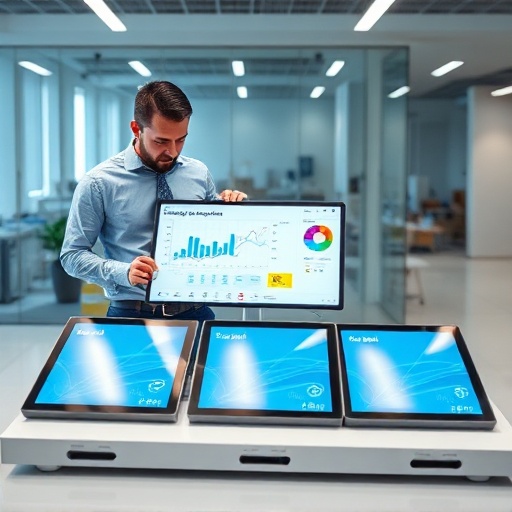
Phase 2: Engineering Your Custom Touch Screen Modules
With the roadmap approved, our specialized engineering teams take over to design the hardware architecture.
Tailoring the Cover Glass: Shapes, Thickness, and Coatings
The cover glass is the face of your device. We design custom glass shapes (including cutouts for buttons or cameras), determine the necessary thickness for IK impact ratings, and specify surface treatments like Anti-Glare (AG), Anti-Reflective (AR), or Anti-Fingerprint (AF) coatings.
FPC Design and Touch Controller (IC) Integration
A common pain point in integration is cabling. We custom-design the FPC (Flexible Printed Circuit) shape, length, and pinout to route perfectly within your unique mechanical enclosure. Concurrently, we select and tune the touch controller IC to ensure flawless responsiveness.
Selecting the Optimal LCD Panel and Backlight Unit
We source or customize the underlying LCD panel and backlight unit to meet your specific contrast, resolution, and thermal management requirements, ensuring the entire display stack works in harmony.
Phase 3: Rapid Prototyping and Design Verification Testing (DVT)
A 3D model is great, but a physical prototype is essential for validation. Phase 3 focuses on rapid iteration and rigorous testing.
Delivering the "Golden Sample" for Client Approval
We utilize rapid prototyping to produce the initial batch of physical samples. This allows your team to hold the module, test its integration into your chassis, and evaluate the "look and feel" before committing to tooling costs.
Rigorous In-House Testing (Thermal, EMI, and Mechanical)
These prototypes undergo Design Verification Testing (DVT) in our in-house reliability lab. We test for extreme temperatures, electromagnetic interference (EMI), and mechanical shock to guarantee the design is robust.
Agile Revision Cycles for Perfect Fit and Function
If the DVT reveals any issues, or if your team requests tweaks after hands-on testing, we enter an agile revision cycle. We refine the CAD files and firmware until the "Golden Sample" is officially approved.
Phase 4: Seamless Transition to Commercial Mass Production
The final hurdle in custom hardware is moving from a perfect prototype to ten thousand perfect units.
Tooling, Jigs, and Assembly Line Preparation
Upon prototype approval, we invest in the permanent steel tooling, custom assembly jigs, and testing fixtures required for mass production. Standard Operating Procedures (SOPs) are finalized for our cleanroom staff.
Implementing Stringent Quality Control (IQC/IPQC/OQC)
Our mass production is governed by strict ISO-certified protocols. From Incoming Quality Control (IQC) of the raw glass to In-Process (IPQC) monitoring of the optical bonding, and 100% Outgoing Quality Control (OQC) functional testing, we ensure batch-to-batch consistency.
Ensuring Supply Chain Stability and Global Delivery
As your manufacturing partner, we manage the supply chain to lock in component pricing and availability, ensuring steady, reliable global delivery that matches your inventory demands.
Accelerate Your Product Launch with Expert Touch Display Customization
Navigating the complexities of display engineering shouldn't slow down your product launch. By partnering with a manufacturer that possesses a mature, transparent NPI process, you eliminate guesswork, avoid costly redesigns, and bring superior products to market faster.
Ready to bring your unique product vision to the market? Partner with a custom display manufacturer you can trust. to kick off your NPI process and request a feasibility assessment.
Frequently Asked Questions (FAQ)
1. What is the typical lead time for a custom touch screen prototype? The timeline depends on the level of customization. A simple modification (like a custom FPC length) can take 2-3 weeks. A fully custom module, involving new cover glass tooling and specific LCD sourcing, typically requires 4-6 weeks to deliver the first functional prototypes.
2. What is the Minimum Order Quantity (MOQ) for an OEM display module? Because custom designs require specific tooling, jigs, and production line setups, we do enforce an MOQ. However, we aim to be flexible to support your initial product launch. The exact MOQ varies based on the screen size and materials used, so we encourage you to discuss your projected volumes with our sales team.
3. Can you customize the FPC shape and length to fit my existing enclosure?